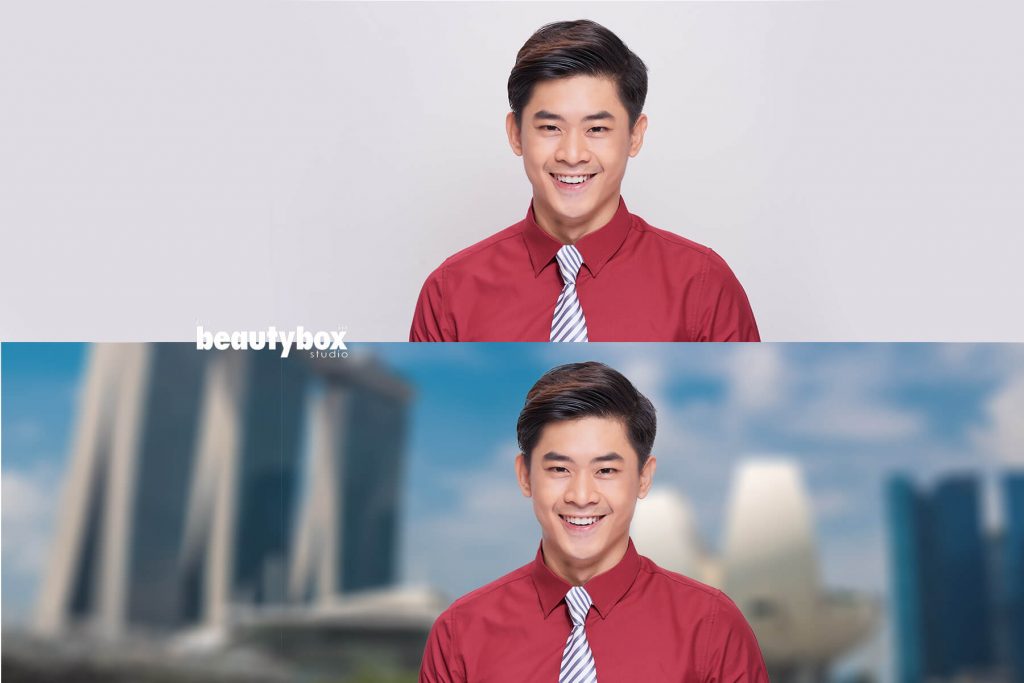
How to Edit Corporate Photos for a Polished Look
Corporate headshot photography is an essential service that helps corporate photographers present their best identities in the business world. A strong corporate headshot conveys confidence, approachability, and professionalism, making it a vital asset for personal branding, company websites, LinkedIn profiles, and marketing materials.

While capturing the perfect photo involves mastering lighting, exposure, and composition, the post-processing phase is equally important. During the shoot, photographers must ensure proper lighting to avoid harsh shadows, correct exposure to maintain detail in both highlights and shadows, and precise composition to create a balanced and visually appealing image. However, even with these technical skills, the raw photos might not fully capture the polished look desired by most corporate clients.
With the right editing techniques, you can transform a good photo into a polished, professional image that highlights your subject’s best features while minimising any imperfections. This guide will walk you through the process of editing corporate headshots to achieve a refined look, using Adobe Lightroom as the primary tool. Adobe Lightroom offers a strong set of tools that allow for detailed adjustments and enhancements, making it a favourite among professional photographers. Whether you’re a seasoned pro or just starting out, these editing tips will help you deliver high-quality headshots that meet your clients’ expectations and boost their professional image.
The Importance of Post-Processing

On the day of the shoot, numerous factors can affect the final image. For instance, your subject may arrive after a long week of meetings, looking tired and less than their best. Factors like dehydration, lack of sleep, and even minor skin imperfections can all contribute to a less-than-ideal appearance. Additionally, external elements such as lighting conditions, background distractions, and wardrobe choices can also impact the quality of the photo. As a corporate photographer Singapore, it’s your job to capture the best possible image despite these challenges.
Post-processing allows you to address these issues, enhancing your photos without making the subjects look unrealistic. Through careful adjustments, you can correct exposure problems, balance colours, remove blemishes, and enhance details to ensure the final image is both natural and flattering. As a Singapore corporate photographer, Post-processing helps to smooth out skin, brighten eyes, and even out tones, making the subjects look well-rest
Step-by-Step Lightroom Workflow
1. Basic Adjustments: Exposure, White Balance, and Composition
Start by making basic adjustments to your image in Lightroom. These adjustments lay the foundation for more detailed edits later on.
Steps:
- Crop the Image: Remove any unwanted elements from the frame, such as a reflector.
- Correct Lens Distortions: Check the “Enable Profile Corrections” box in the Lens Corrections panel to fix any distortion.
- Adjust Exposure: Increase the exposure if the image is too dark, and reduce highlights to prevent overexposure.
- Set White Balance: Ensure the colours in the image look natural and balanced.
Example Before and After Basic Adjustments:
| Step | Before | After |
| Crop and Lens Correction | Reflector visible, barrel distortion | Clean frame, corrected lines |
| Exposure and White Balance | Slightly dark, incorrect colours | Properly lit, balanced colours |
2. Local Adjustments: Targeted Enhancements
Local adjustments are essential for refining specific areas of the photo, such as the skin, eyes, and hair.
Soften Skin
Clearing up skin imperfections and evening out skin tone can significantly improve the subject’s appearance.
Settings for Adjustment Brush:
- Clarity: -50
- Sharpness: -10
- Contrast: +5
- Highlights: +15
Brush over the entire face, avoiding the eyes, eyebrows, and lips.
Diminish Lines
Reduce the appearance of wrinkles and shadows created by facial lines.
Settings:
- Contrast: -30
- Shadows: +15
- Clarity: -50
- Sharpness: -10
Apply these settings with a small, soft brush over the lines.
Brighten the Eyes
Making the eyes more vibrant can add life to the photo.
Settings:
- Exposure: +0.2
- Contrast: +10
- Clarity: +10
Apply the brush to the whites, irises, and pupils of the eyes.
Enhance the Iris
Add more depth to the iris to make the eyes stand out.
Settings:
- Exposure: +0.40
- Contrast: +20
- Highlights: +35
- Clarity: +5
- Saturation: +20
Focus this adjustment on the colourful part of the eyes.
Whiten the Teeth
A subtle whitening of the teeth can enhance a smile without looking unnatural.
Settings:
- Temp: -25
- Exposure: +0.25
- Saturation: -20
Carefully brush over the enamel, avoiding the gums and lips.
Define Hair and Eyelashes
Enhance the definition of hair and eyelashes to add texture and detail.
Settings:
- Contrast: +10
- Highlights: +20
- Shadows: -10
- Clarity: +30
- Saturation: +10
- Sharpness: +30
Brush over the hair and eyelashes with these settings.
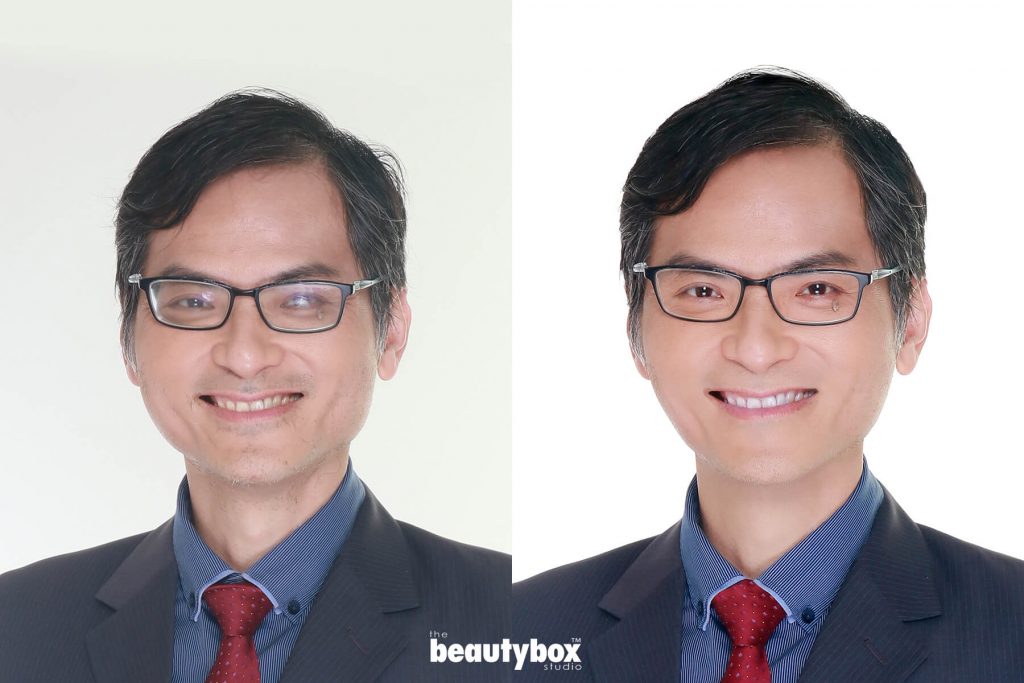
Example Before and After Local Adjustments:
| Adjustment | Before | After |
| Soften Skin | Visible pores and blemishes | Smooth, even skin tone |
| Diminish Lines | Prominent wrinkles | Reduced shadowing on lines |
| Brighten Eyes | Dull, lifeless eyes | Bright, vibrant eyes |
| Enhance Iris | Flat eye colour | Deep, colourful irises |
| Whiten Teeth | Slightly yellow teeth | Clean, white teeth |
| Define Hair | Flat hair texture | Detailed, textured hair |
Final Touches and Export

After completing the local adjustments, review the image to ensure the changes are subtle and natural. The goal is to enhance the subject’s features without making them look overdone.
Export Settings:
- File Type: JPEG
- Quality: 80-100%
- Resolution: 300 dpi for print, 72 dpi for web
- Colour Space: sRGB for web, Adobe RGB for print
Conclusion
Editing corporate photos for a polished look doesn’t need to be a time-consuming process. By following this streamlined workflow, corporate photographers in Singapore can enhance the images efficiently and effectively. Remember, the key to successful post-processing is subtlety; your edits should enhance the natural beauty of your subjects, making them look their best while still looking like themselves.
Summary of Steps
- Basic Adjustments: Crop, Lens Corrections, Exposure, White Balance
- Local Adjustments: Soften Skin, Diminish Lines, Brighten Eyes, Enhance Iris, Whiten Teeth, Define Hair and Eyelashes
- Final Review and Export
By mastering these techniques, you’ll be able to deliver high-quality, professional headshots that your clients will love.
This guide provides a comprehensive approach to corporate photographers to editing corporate headshots, ensuring your photos have a polished, professional appearance. Whether you’re using Lightroom or another photo editing software, the principles remain the same. Happy editing!
